The Academy: A Cadet’s Guide to the Action Bar

Welcome to The Academy, Cadet! This series will cover the basics you need to mix it up with the Rebel scum/loathsome Resistance/Imperial bucketheads/First Order thugs/spineless bounty hunters/dirty clankers/Jedi filth. Learn your fundamentals well and you just might not end up floating out in the void next to the scorched wreckage of your ship.
Today's installment will cover the vertical row of symbols on the right side of your pilot card. This is your pilot's action bar. The X-Wing 2.0 Wiki's "Actions" article and its linked rules pages do a great job covering all of the rules surrounding actions; this will be a condensed version with a discussion of applications and implications.
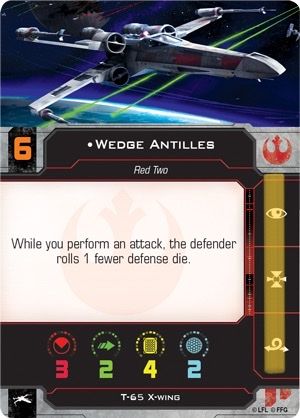
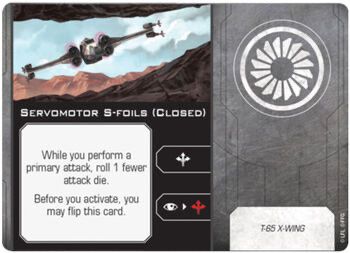
The action bar on a pilot card shows symbols for the actions available to your pilot, though additional actions may be added by upgrade cards. An example of this is the "Servomotor S-Foils" configuration adding actions to the T-65 X-Wing when it is flipped to its "Closed" side.
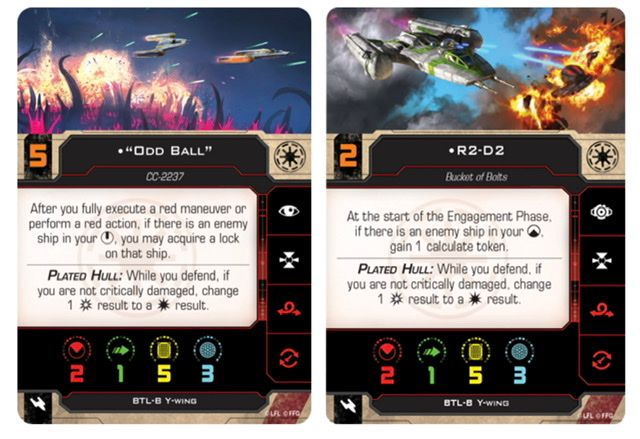
Actions will generally be the same for all pilots on a given ship with a few notable exceptions, like R2-D2 in the Republic BTL-B Y-Wing. Since R2 is a droid he gets the Calculate action instead of Focus.
After you fully execute a maneuver during the Activation Phase you may perform one action from your action bar, provided you are not stressed. There are a few ways that the action symbols may be modified:
- RED action: gain a stress token after performing. If you fail a red action you still gain the stress
- PURPLE action: spend a Force charge in order to perform
- Linked actions may be performed in sequence as indicated, though you may choose not to perform the linked action. If you fail the first action you may not perform the linked action.
Ship abilities, upgrades, abilities used by other ships in your squad, and game effects may also allow you to perform actions, both on your action bar and not, at other times. Additional actions granted this way are white unless otherwise stated. There is no limit to the number of actions a ship may perform in a round, but you can only perform each action once per round.
There are some changes coming to when and how you can take actions after you overlap an obstacle or other ship, but since we don't yet have the rules in writing I will update this article once we do.
The Actions
"The Modifiers"
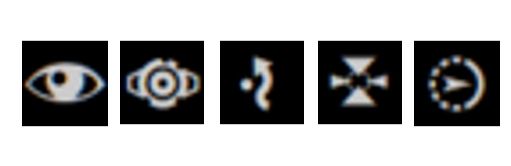
Focus: Gain a focus token. You can spend a focus token on attack or defense to change all focus results to hit or evade results. You are "focusing" if you have at least one focus token.
This is Old Faithful. Don't know what to do? Focus up. It's a flexible green token to have for dice modification, just remember that all round tokens are removed at the end of the...round. A few cards that give it a bigger impact on the game are the Perceptive Copilot crew upgrade and the Moldy Crow title for the HWK-290, give them a try!

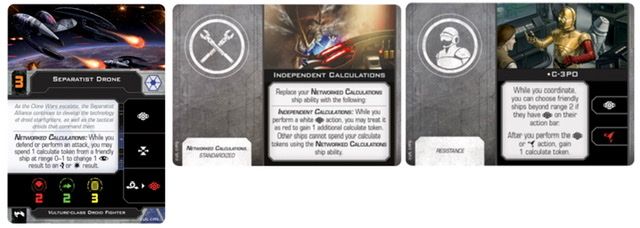
Calculate: Gain a calculate token. You can spend a calculate token on attack or defense to change a single focus result to a hit or evade result. You are "calculating" if you have at least one calculate token.
Calculate is like Focus but for droids. Focus is for humans who can think creatively. Though on the surface the calculate token seems less powerful than a focus it does present unique advantages in the way some pilots and upgrades utilize it and, since a single calculate token is less impactful than a focus token there are a lot of abilities and upgrades that help you acquire more than one. Separatist droid fighters and bombers have the built-in ability to let their droid brains share as many calculate tokens as they want. There are also multiple upgrades, like Independent Calculations and Resistance C-3PO crew, that allow you to gain multiple tokens for a single action. If you think about it, two calculate tokens can be more flexible than a single focus as, if you only need to modify a single result, you can have a token for both offense and defense.
Evade: Gain an Evade token. Spend an evade token when defending to change one blank or focus result to an evade result. You are "evading" if you have at least one evade token.

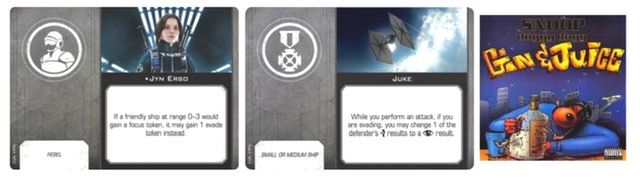
Evade is a purely defensive action, and there has been a lot of discussion about whether it is more effective than Focus for modifying dice. I invite you to try both on various ships against a variety of attacks with the X-Wing Probability Calculator and decide what is best for you. Bottom line: it varies based on the situation and you'll want to get familiar with when to use each. Rebel Jyn Erso crew allows friendly ships to get an evade token with their Focus action which is wonderfully flexible, and Juke will even allow your evade tokens to assist you on offense.
Lock: Acquire a lock on a ship or object at range 0-3. You may spend your lock when attacking to reroll any number of dice. Additionally, many special attacks have a lock requirement.

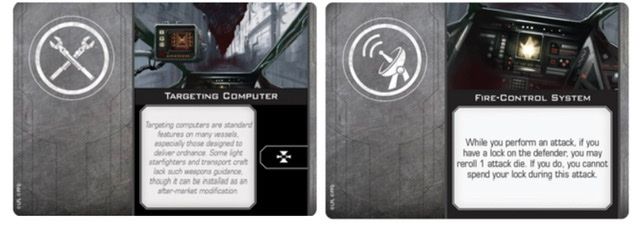
Target Lock is how you enable missile or torpedo attacks and one of the more powerful ways to modify your attack dice. Try Targeting Computer to add this action to a ship that doesn't have it or equip Fire Control System to reroll an attack die without spending the lock.
Reinforce: Gain a fore or aft reinforce token. When you are reinforced if you are attacked by a ship entirely in the half arc that is reinforced, if there is more than one hit/critical hit result remaining after the Neutralize Results step you may add an evade result to cancel a hit.
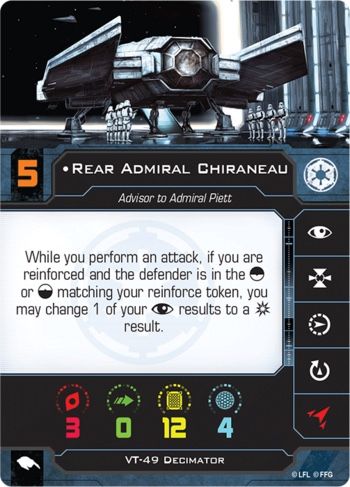
Reinforce is also purely defensive and a bit tricky to understand. Essentially you're angling your shields to mitigate damage. You can cancel additional hit results but if the attack hits you will still always take at least one damage. The important thing to note is that the reinforce token is not spent or removed until the end of the round so you can use it to reduce damage from multiple attacks, and that's where its true value lies. Rear Admiral Chiraneau has an ability that allows you to Reinforce and still get some offensive benefit.
"The Repositions"

Boost: Move forward using the 1 bank (right or left) or 1 straight template. Remember that this is not a maneuver and cannot be partially executed, so if your boost does not fit the action will fail.

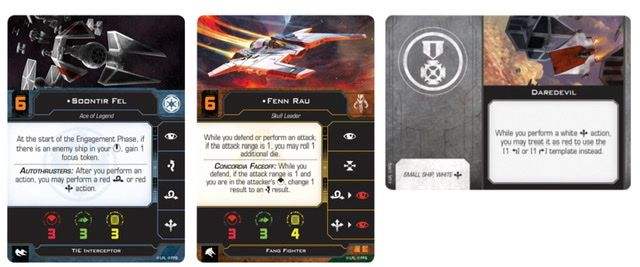
Very useful, especially as a linked or bonus action on repositioning aces like Fenn Rau and Soontir Fel. Daredevil lets you use the hard turn template instead of bank, though at a cost.
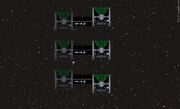
Barrel Roll: Move laterally using the 1 straight template. Begin by aligning the center line of the template with the center line of your small ship's base. End the barrel roll on the other side of the template with the center line of the base aligned with either the front, center, or back of the template. To barrel roll a medium or large base ship, place the template parallel to the base lengthwise instead of perpendicular. Like Boost, this action fails if you cannot execute the barrel roll.
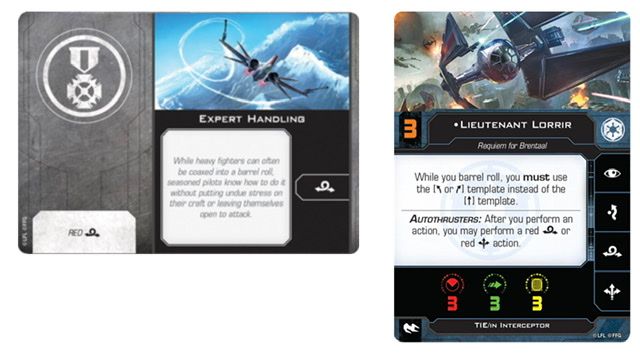
Another neat reposition ability, handy to get out of a firing arc if your maneuver didn't pan out as planned. Expert Handling will add a white barrel roll if the one on your action bar is red. Some pilots can barrel roll with different templates.
SLAM: After you execute a maneuver, execute another maneuver of the same speed. This is a maneuver, so it can be partially executed, and since it has to follow a maneuver it can only be performed in the ship's Perform Action Step. After you SLAM you gain a disarm token, meaning you cannot fire this round unless you have a way of removing it.

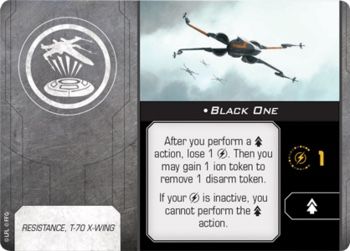
Very speedy, but needs to be planned well. Note that the SLAM maneuver does not need to be identical to your dial, though it must be a maneuver that is on your dial. A 3-straight followed by a 3-hard turn SLAM is perfectly valid. You can add SLAM to a T-70 X-Wing with the Black One title.
Cloak: Gain a cloak token. While you are cloaked you roll two additional defense dice but cannot attack. You "decloak" during the Systems Phase by boosting or barrel rolling using either the 2 straight (small ship) or 1 straight (medium/large ship) template.
Another action that requires that you skip a round of attacking, but cloaking can protect your ship from damage and help you move into unpredictable positions.
"The Influencers"
Coordinate: Allow a friendly ship at range 1-2 to perform an action on their action bar. Remember, if you don't have a friendly ship in range then this action fails!
Coordinate is one of the most powerful actions in the game. Giving one of your ships an extra action (or more, if granted by other effects) can help it wipe an opponent off the board or save it from certain death. Having a coordinator in your squad is a great force multiplier. Add Coordinate to any ship with Squad Leader.
Jam: Assign a jam token to a ship at range 1 or in your bullseye at range 1-2. A ship is jammed if it has at least one jam token. If a ship is jammed, the player who assigned the jam token may choose to remove one green token (focus/calculate/evade) or break one target lock. Just like Coordinate, this action can fail if you do not have a target in range.

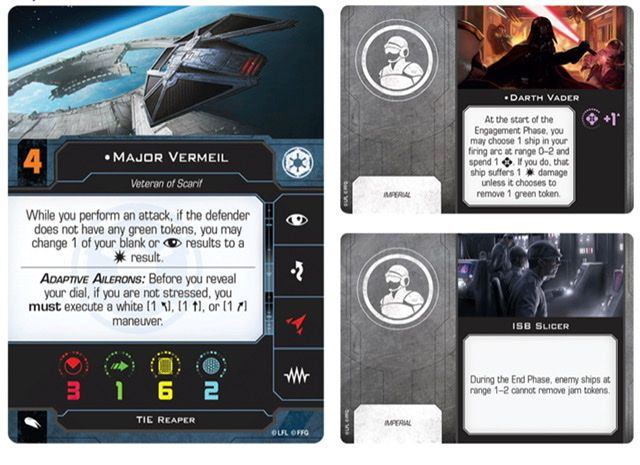
How rude! There are a lot of nuanced ways to use this one and it can be extremely dangerous if done well. Just remember that jam tokens are round, so they're removed at the end of the...round. If you want to go all in on Jam, put Darth Vader crew and ISB Slicer on Major Vermeil in the TIE Reaper. Roll up to range 1, jam off the enemy's green token or assign a jam token if they don't have one. Since they don't have a token to remove then they take one damage from Vader, then Vermeil's ability triggers, then in the end phase if they are still jammed ISB Slicer ensures they remain that way. It's a lot of points and takes work to pull off consistently but a fun trick.
"The Other Ones"
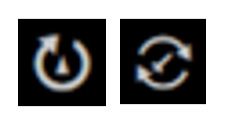
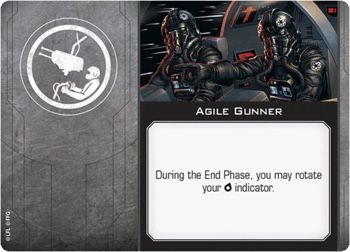
Rotate: Rotate your turret arc indicator

Just what it sounds like. I'd recommend taking Agile Gunner if you can since rotating is not a great use of your Perform Action Step.
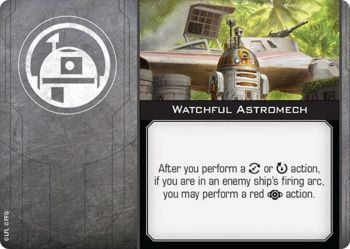
Reload: Regain a charge on one of your equipped missile, torpedo, or device upgrades and gain a disarm token.
Reload is usually found on your bombers and medium or large base ships. It does exactly what it says, though at the cost of your shot this round. Watchful Astromech is a cute little upgrade to use if you know you'll be reloading a lot and want to be less vulnerable.
Many thanks to the X-Wing 2.0 Wiki for a lot of the info and images used here.