The Hangar: Resistance


Welcome to The Hangar, pilot! In this series we talk about starfighters, freighters, shuttles, racers, bombers, gunships, and everything else in between. This is the chance to look "under the hood," as it were, and explore what makes our favorite ships great.
The first round of posts in this section will be breakdowns by faction of the ships that make up your squads. When I was new to X-Wing I read the excellent buying guides and faction breakdowns from the likes of Rogue Outpost, Stay on the Leader, Confessions of a Midwest Scrub's post-points change essays, and others (many others) and since I know I could sit and read different individuals' takes on this topic all day I thought I'd offer mine!
We'll focus on what X-Wing players call the "chassis" or the attributes of the ship itself independent of pilot abilities and points costs, except where these are notably linked. More in-depth looks at individual chassis with their pilots will follow and be linked from these intro articles. Ships are presented in a loosely "ranked" list, though for the most part this is subjective and based largely on my personal experience and preferences. With a few exceptions I will stick to ships that can be bought in their faction with 2.0 components, so I'll get to all ships that will be legal in AMG's Standard format in due time. For more information on all ships I'd also recommend the X-Wing 2.0 Wiki.

Jumping now from the prequel to the sequel factions, we're almost done with this introductory series. The Resistance faction has really grown on me lately, to the point where I flew a Resistance squad at a local tournament and really enjoyed it. Resistance ships/pilots tend to be powerful squadbuilding pieces on their own, largely independent of outside support, kind of like how the Resistance was forced to fight its self-sufficient proxy war against the First Order without the direct support of the New Republic. It feels to me like, while most Resistance ships and pilots are good in a vacuum, it can be a bit tricky to put together a squad that works well as a unit and the high individual costs of the advanced starfighters and skilled pilots means that you need to fly well to get their full value. A real strength of the Resistance is that their small cadre of ace pilots and unique upgrades generally come with powerful abilities that allow them to do pretty impressive things like gain tokens, double modify attacks, double reposition, and apply effects to enemies without the need for a dedicated support unit.
T-70 X-Wing
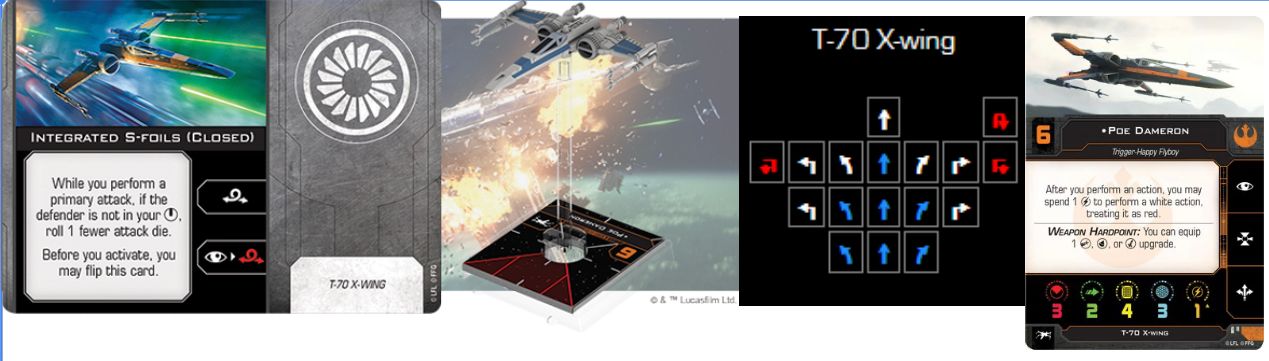
The T-70 X-Wing definitely makes the shortlist of the best all-around ships in the game. The T-70, as an evolution of the T-65, takes the classic X-Wing's solid stats and turns them up a notch. You still roll three red dice on a primary attack and 2 greens on defense (this is still an X-Wing, after all) but the T-70 gains one more shield and an additional blue maneuver (3-straight). The advanced T-70 also sports a configurable Weapons Hardpoint as its chassis ability so that you can equip torpedoes, missiles, or a cannon in place of the T-65's torpedo launcher. Also note that the T-70's S-Foils configuration is the opposite of the T-65's: you Boost with the foils open and Barrel Roll with a linked red Focus with them closed. The T-70 can also retain its third attack die with the foils closed provided the target is in its bullseye arc. This advanced X-Wing is a powerful tool in the hands of Resistance pilots but be prepared to pay a points premium over the classic X-Wing for the added stats and capability.
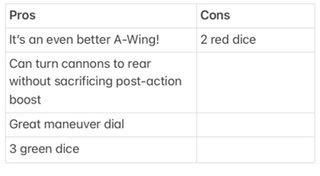
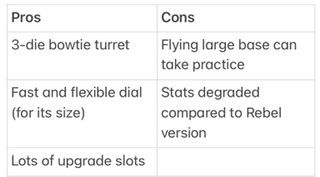
RZ-2 A-Wing
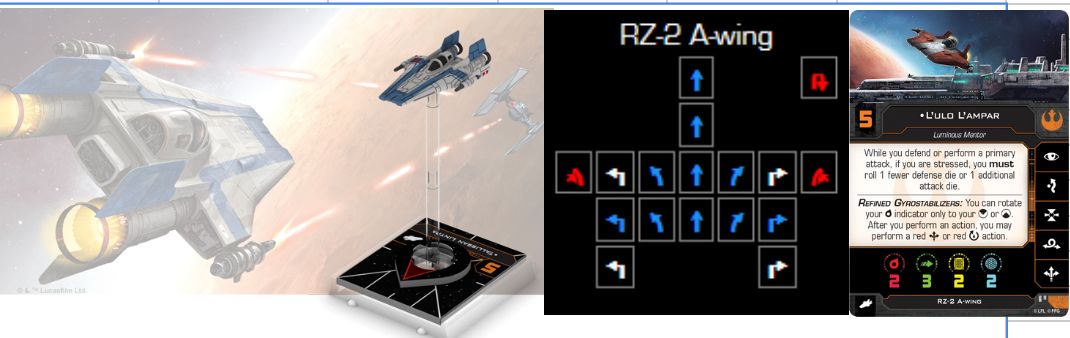
In what is a theme for the Resistance, the RZ-2 is an improved version of the already effective Rebel RZ-1 A-Wing. It has the same hull, shields, primary attack, and agility as the RZ-1 but, like the T-70, has a slightly better dial than its Rebel counterpart, in this case turning the 3-banks blue. This is especially helpful to clear stress from the A-Wing's chassis ability! In addition to an optional red boost after performing an action, the RZ-2 can rotate its primary arc to the rear to fire behind it. The Rebel RZ-1 is able to do this, but only by equipping a standardized configuration and the Boost or Rotate action is moved to the Systems Phase.
Scavenged YT-1300
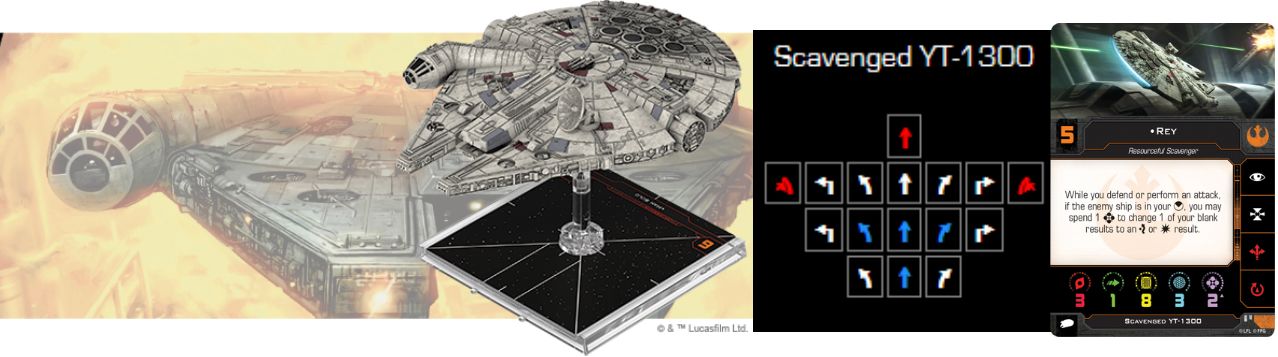
"The garbage will do!" The Millennium Falcon is back, baby! After years of sitting in the Jakku desert the Falcon isn't quite what it used to be but is still a capable ship with plenty of upgrade slots to carry around all of your Resistance buddies. The Resistance YT-1300's shields have lost some of their efficiency (3 compared to the Rebel YT-1300's 5) and the compressor installed by Unkar Plutt robbed it of some of its speed (3- and 4-straight increased difficulty and lost its 4-Koiogran Turn). This iteration of the Falcon shows its age but still has the same 3-red bowtie turret arc, can carry powerful Resistance crew and upgrades, and compensates for the lost capability by generally costing a bit less than the Falcon did in its prime.
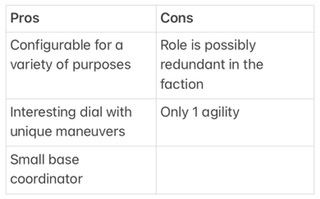
Resistance Transport
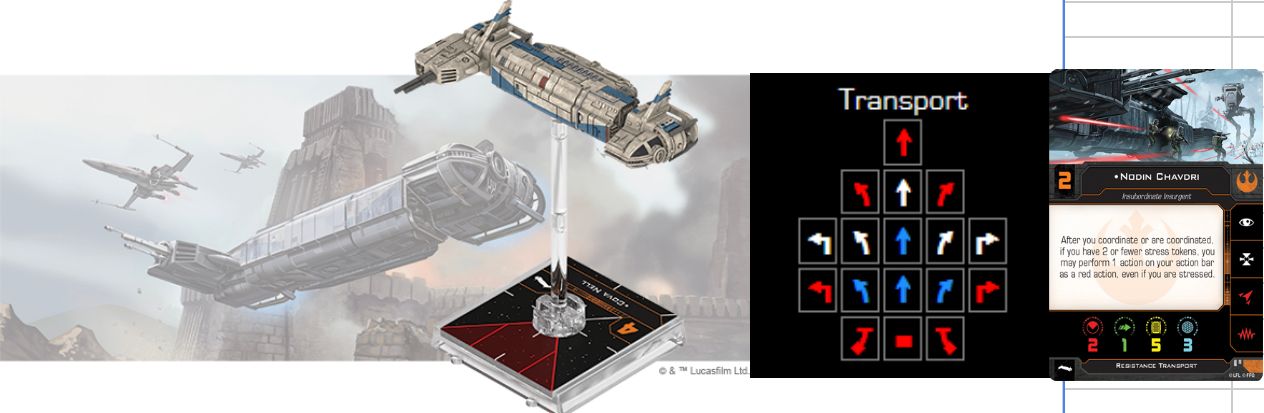
The Resistance Transport is the first ship on this list to not have a direct connection to a Rebel counterpart, though canonically it is essentially a shipping container bookended by repurposed B-Wing parts. The Transport is a pretty capable ship on paper: lots of crew slots, fun dial including a reverse maneuver, multiple ordnance slots including double cannons, good pilot abilities, and a small base which is rare for ships with such flexible capabilities. It seems, however, like a solution looking for a problem. Since most Resistance ships and pilots have pretty great abilities, there is less need for a dedicated support ship unless you have some sort of sneaky combo in mind. The Transport can be built to be a pretty heavy hitter with ordnance and crew abilities but at the price point you usually might as well take another T-70. A shame, really, because it's a pretty neat, flexible ship.
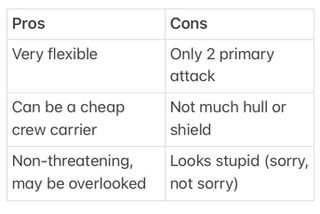
Resistance Transport Pod
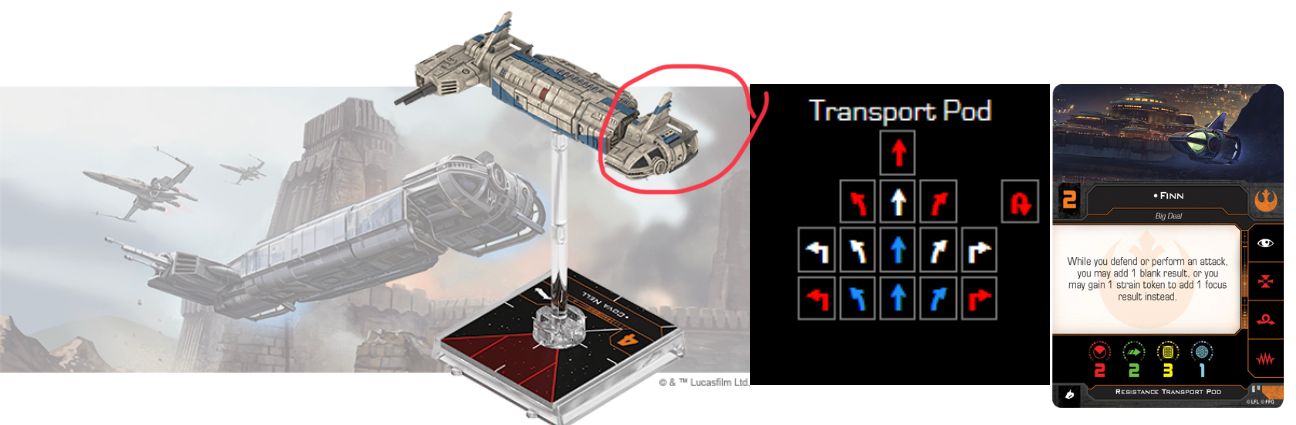
Compounding the injustice that is the Resistance Transport's relative uselessness is the fact that its ridiculous-looking detached cockpit (the pod flown by Rose and Finn to Canto Bight) is a pretty good ship on its own. Seriously, it bothers me that I can fly a list of sweet T-70 X-Wings and this funny looking little thing is probably as good as at least one of them. Now that I've gotten that out of my system, let's acknowledge that the little Transport Pod can be very effective. Its pilots have solid abilities and is usually set up as a surprise offensive asset using Finn or as a resilient coordinator with Rose and C-3PO crew. Its advantage over the Transport is that it generally costs fewer points but has less health, though it is often overlooked and sticks around longer than you'd think.
Fireball
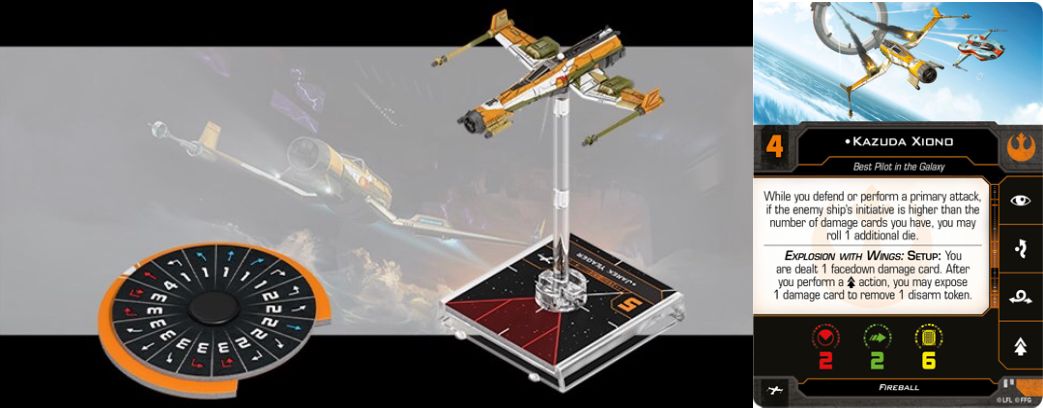
The Fireball, Kazuda Xiono's racer from the Resistance animated series, is a funky little ship. It has no shields and, with the "Explosion with Wings" chassis ability, is dealt a facedown damage card at setup. This seems pretty rough right off the bat but the Fireball has a few unique capabilities including, I believe, being the only ship in Standard format with native SLAM on its action bar. Remember that damage card? If you flip it over after a SLAM you can remove the disarm token gained and still attack and some pilot abilities help you to mitigate the risk of that course of action. The Fireball may have a niche role and take some practice to use effectively but it's a fun addition to the faction and the game.

BTA-NR2 Y-Wing
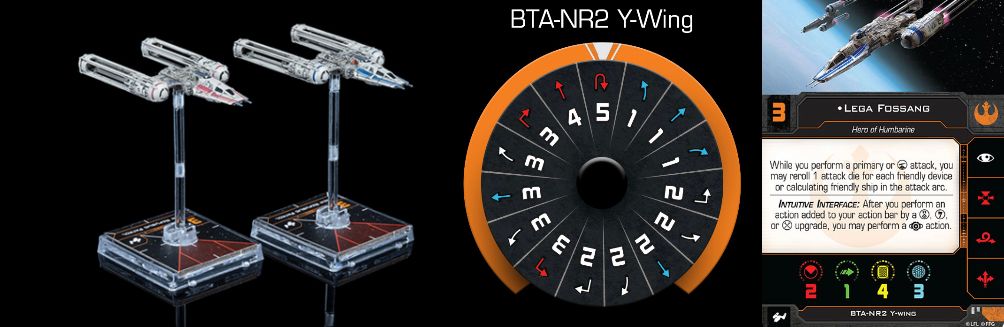
It really speaks to the strength of the individual ships in the Resistance hangar that I can rank this last and yet it is included in my current favorite Resistance squad. The base chassis ability, Intuitive Interface, is neat because you can add upgrades like Engine Upgrade, Targeting Computer, Expert Handling, etc. and gain a calculate token after performing actions granted by that upgrade. Talk about free action efficiency! My current favorite combo is Ion Cannon Turret and Targeting Computer, giving you Ion Cannon Turret shots with a target lock and calculate every turn. The alternative Configuration, Wartime Loadout, adds extra shields, the ability to carry more ordnance, and the ability to land unblockable critical hits if the target is in your bullseye. The unfortunate reality is that, in my opinion, the cheaper pilots (at time of writing, of course) are the most efficient buy for this ship as once you get to the better ones you're in X-Wing points territory and those cheaper pilots tend to not have enough loadout value to add Wartime Loadout plus enough weapons to make good use of it.